One word: Filters.
Filters are a great way to organize and prioritize campaign posts. They help pull up the specific content you need and speed up your workflow.
You can filter a campaign’s posts by:
- Publishing date
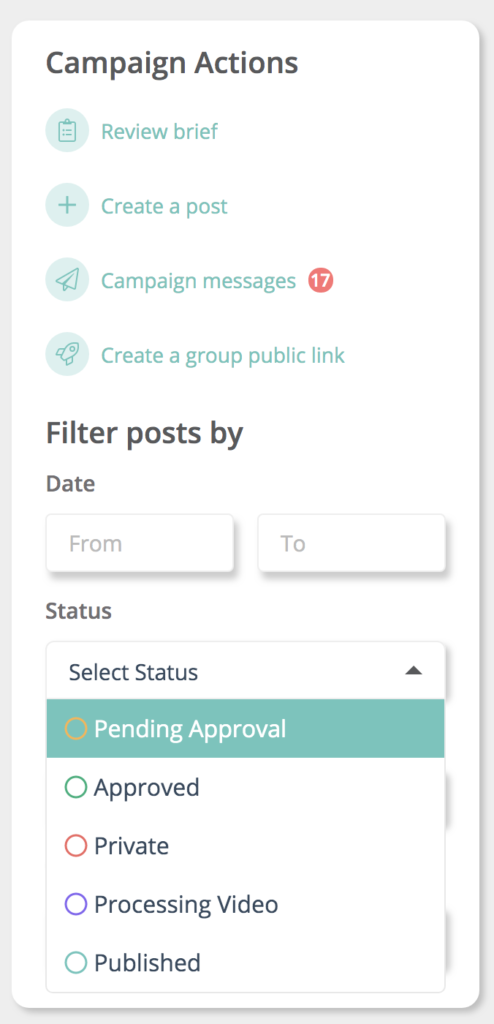
- Post status
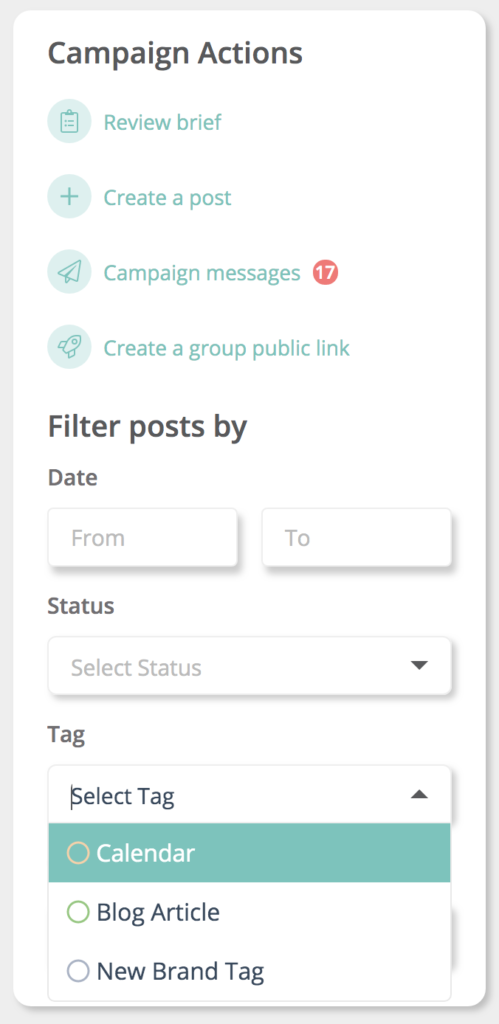
- Brand and/or campaign tags
- Promoted Post
To add a Filter:
- Go to the Campaign Actions menu
- On the “Filter Posts By”, select as many filters as needed.
- Click ‘Apply Filters’ to see the filters you chose.
If you want to reset all filters, click Clear Filters to return to the normal view that displays all posts.
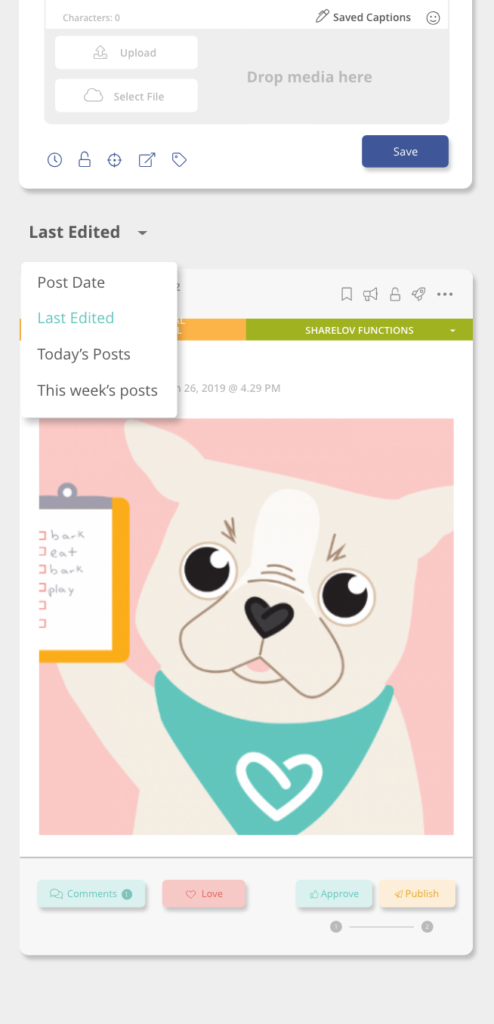
Another extremely easy way to find a post is to go to the Campaign feed and select the most convenient option next to ‘Sort by’.
Select to sort the posts by:
- Post date
- Last edited
- This week’s posts
- Today’s posts
Leave A Comment?